
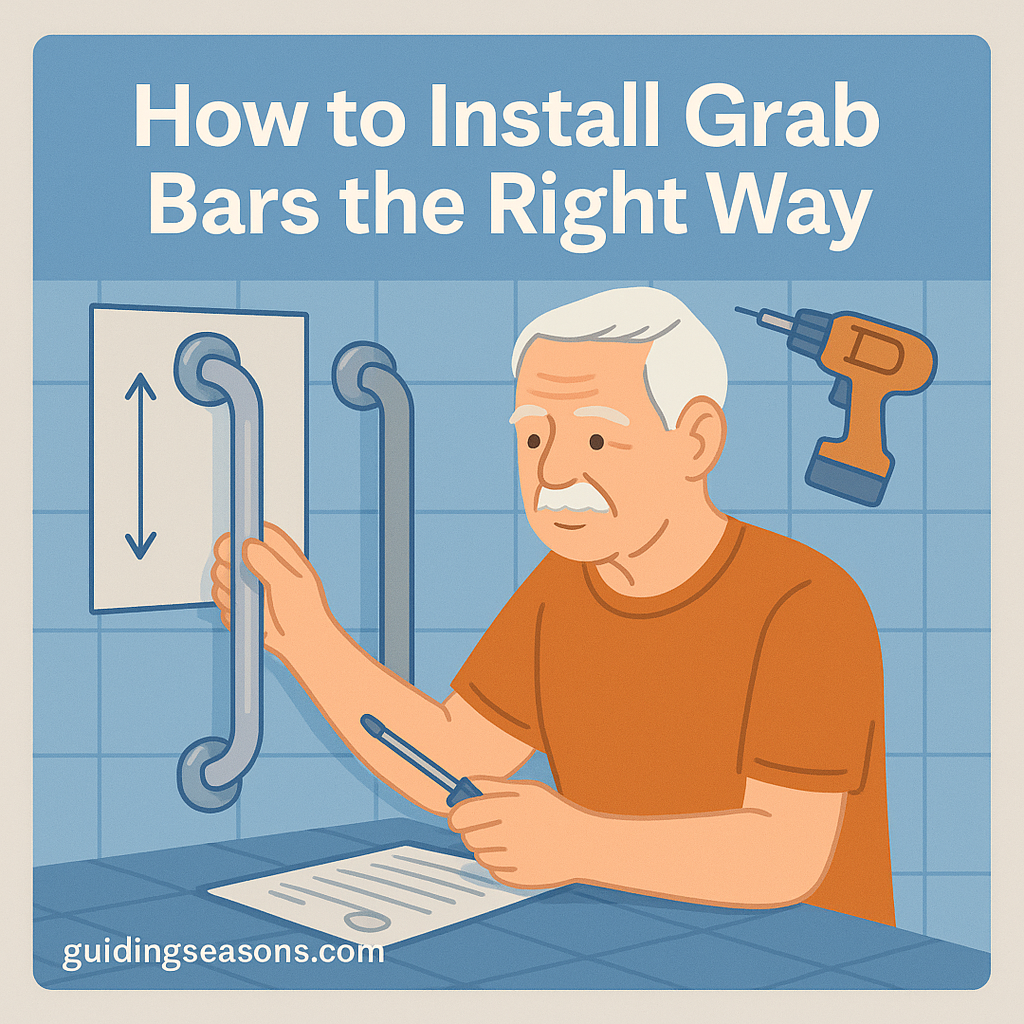
Grab bars are one of the simplest home modifications you can make to improve stability and reduce the risk of falls. They can provide support when stepping into a shower, sitting down or standing up from a toilet, moving around a bathtub, or navigating another area where balance may be difficult.
For older adults who want to remain independent at home, properly placed grab bars can be particularly useful. The National Institute on Aging recommends installing grab bars near toilets and in tubs or showers as part of making a home safer and reducing fall hazards.
But installation matters.
A grab bar that looks sturdy but is attached incorrectly can create a false sense of security. If someone places their full weight on it and the mounting hardware pulls away from the wall, the result could be worse than having no bar at all.
That is why grab bars should be treated as safety equipment rather than decorative bathroom accessories.
The correct bar, secure mounting surface, appropriate hardware, thoughtful placement, and regular inspection all matter.
Here is how to approach grab-bar installation the right way.
1. Start by Identifying Where Support Is Actually Needed
Before buying a grab bar, think about the movements that feel difficult or unstable.
Do you reach for the towel rack when getting out of the shower?
Do you brace yourself against the wall while lowering onto the toilet?
Do you grab the shower door when stepping over the edge of a bathtub?
These habits can reveal where additional support may be helpful.
Common locations include:
- Beside the toilet
- Behind the toilet
- Inside the shower
- Along the side of a bathtub
- At the entrance to a tub or shower
- Near small interior steps
- In certain transition areas
Bathrooms are the most common location because water and smooth surfaces can increase slipping risk.
The National Institute on Aging specifically identifies grab bars near toilets and in tubs or showers as useful home-safety features.
That does not mean every bathroom needs the same arrangement.
The right location depends on how the person moves through the space.
2. Don’t Use a Towel Bar as a Grab Bar
This distinction is extremely important.
A towel bar may look similar to a grab bar, but it usually is not designed or mounted to support body weight.
The same is true for:
- Soap dishes
- Shower-door frames
- Towel rings
- Toilet-paper holders
- Shelves
If you find yourself regularly grabbing one of these objects for stability, that is a strong sign that a real grab bar may be needed nearby.
Grab bars are specifically designed to withstand force when installed correctly.
A towel bar is designed to hold towels.
Those are very different jobs.
3. Choose a Grab Bar Designed for Safety
Select a product specifically manufactured as a grab bar.
Useful features may include:
- Corrosion-resistant construction
- Textured or slip-resistant gripping surface
- Rounded edges
- Concealed or protected mounting hardware
- Clear manufacturer installation instructions
- A published load or safety rating
Stainless steel is common because it is durable and resistant to moisture.
The diameter should also feel comfortable in the user’s hand. A bar that is too large or too slippery may be difficult to grip securely.
The ADA Standards for Accessible Design require compliant grab bars to have rounded edges and remain secure in their fittings rather than rotating.
These standards are designed primarily for accessible facilities covered by the ADA, but they provide useful examples of what robust grab-bar construction looks like.
4. Understand the 250-Pound ADA Strength Standard
One useful number to understand is 250 pounds.
Under the ADA Standards for Accessible Design, grab bars, fasteners, mounting devices, and supporting structures must be capable of handling a 250-pound force applied at any point on the grab bar without exceeding allowable structural stresses.
That does not mean a homeowner should simply buy a product labeled “250 pounds” and assume the installation is safe.
The complete system matters:
- The bar
- The screws or fasteners
- The anchors
- The wall structure
- The installation method
A strong grab bar attached poorly to weak drywall can still fail.
Think of it this way: a 300-pound-rated bar is only as dependable as the material holding it to the wall.
5. Avoid Relying on Suction-Cup Bars for Primary Support
Suction-mounted grab bars may be convenient because they do not require drilling, but they should not generally be treated as the equivalent of a permanently mounted structural grab bar.
Changes in moisture, tile condition, grout, or suction can affect their ability to remain attached.
If someone needs a bar to support significant body weight or to prevent a fall, a properly anchored permanent bar is usually the safer approach.
A suction device may serve as a visual cue or light balance aid when used according to the manufacturer’s instructions, but it should not create the impression that it can safely replace a structurally mounted grab bar.
For dependable support, installation into an appropriate structural surface is important.
6. Locate the Wall Structure Before Drilling
Before drilling any holes, determine what is behind the wall.
Depending on the home, the wall may contain:
- Wood studs
- Metal studs
- Plywood backing
- Tile over cement board
- Drywall
- Plumbing
- Electrical wiring
Wood-framed walls typically contain vertical studs behind the finished wall surface.
A stud finder can help locate them, but do not rely blindly on one reading.
You should also consider where plumbing and electrical wiring may be located.
This becomes particularly important in bathrooms because pipes may run directly behind shower or bathtub walls.
Drilling into an unknown wall without understanding what is behind it can damage plumbing or electrical systems.
If you are uncertain, this is a good point to hire an experienced installer.
7. Mount Into Solid Structural Support
Whenever possible, grab-bar fasteners should connect to solid structural support such as framing or properly installed backing.
Drywall by itself is not suitable for supporting the full loads a grab bar may experience.
Likewise, tile is only the finished surface. The real strength comes from the structure behind it.
During new construction or remodeling, contractors can install blocking between wall studs before the wall is closed.
This creates a large, strong mounting area for future grab bars.
For existing walls, there are specialized grab-bar mounting systems designed for situations where the desired location does not line up perfectly with a stud.
However, these products must be installed exactly according to their manufacturer’s instructions and be appropriate for the wall construction.
Do not substitute a generic plastic drywall anchor simply because it fits the screw.
8. Use the Manufacturer’s Hardware and Instructions
Grab bars generally come with specific mounting instructions.
Follow them carefully.
Do not assume that bigger screws automatically make an installation safer.
Hardware needs to match:
- The grab bar
- Wall construction
- Structural support
- Environmental conditions
Bathrooms also require corrosion-resistant hardware because moisture can cause certain metals to deteriorate over time.
If the manufacturer specifies particular fasteners, hole sizes, anchors, or installation procedures, follow those requirements.
Substituting different hardware without understanding its structural capacity can compromise the installation.
9. Be Careful When Drilling Through Tile
Installing grab bars on tiled walls requires extra care.
Tile can crack if the wrong drill bit, pressure, or technique is used.
Before drilling:
- Confirm the exact mounting location
- Verify structural support behind the wall
- Check for plumbing or electrical components
- Use equipment appropriate for the tile material
- Follow the grab-bar manufacturer’s instructions
Porcelain, ceramic tile, natural stone, and other materials may require different drilling techniques.
Once the tile is penetrated, the mounting holes may also need to be sealed appropriately to prevent moisture from entering the wall.
Water intrusion behind shower walls can eventually cause serious damage.
If you are uncomfortable drilling through tile or stone, hiring a professional installer is usually worth the cost.
10. Place the Bar Based on the User’s Movement
Grab-bar placement should match how the person actually uses the space.
One useful approach is to stand safely in the area with another person present and notice where your hand naturally reaches.
For example, imagine someone stepping into a bathtub.
They may first need a vertical bar near the entrance for support while lifting one foot over the tub wall.
Once inside, a horizontal bar along the side wall may provide support while standing, turning, or moving toward a shower seat.
Those are two different movements, which is why one grab bar does not always solve every problem.
Think about:
- Where the person starts
- Where they are moving
- Which hand they prefer
- Whether they sit or stand
- Whether they use a cane or walker
- Where they naturally reach for support
This can help determine the most useful placement.
11. Know What ADA Height Guidelines Actually Mean
You may see recommendations online stating that grab bars should be installed at a particular height.
The ADA Standards specify that many horizontal grab bars covered by the standard should be installed with the top of the gripping surface 33 to 36 inches above the finished floor.
That is an important accessibility standard—but it should not be interpreted as a universal home-installation rule.
ADA requirements generally apply to particular public and commercial facilities and certain other covered environments.
A private residence may have different requirements, and an individual’s needs may justify different positioning.
For example, someone who is very tall, uses a wheelchair, has limited shoulder movement, or transfers from a specific side may need a different setup.
If the installation is intended to accommodate a particular mobility limitation, consider consulting an occupational therapist, physical therapist, accessibility specialist, or other qualified professional.
12. Horizontal, Vertical, and Angled Bars Serve Different Purposes
Grab bars can be mounted in several orientations.
Horizontal grab bars
Horizontal bars provide a continuous gripping area and may be useful for:
- Maintaining balance while standing
- Moving along a shower wall
- Supporting transfers near a toilet
ADA-compliant grab bars in many applications are required to be horizontal.
Vertical grab bars
Vertical bars may be useful near the entrance to a shower or tub because a person can grip the bar at different heights while stepping in or out.
Angled grab bars
Some people find angled bars helpful because the changing height provides different grip positions.
However, the best orientation depends on the user and the location.
Do not choose an angled installation simply because it looks more ergonomic.
The wall structure still needs to support the mounting points securely.
13. Think Carefully About Toilet Grab Bars
The area around the toilet is another common location where support is helpful.
A person may need assistance when:
- Lowering onto the seat
- Standing back up
- Transferring from a wheelchair
- Regaining balance
Possible configurations include bars mounted on:
- A side wall
- A rear wall
- Both areas
The best arrangement depends on bathroom layout and the user’s mobility.
A toilet positioned close to a side wall creates different options than one centered in a large open area.
If someone has significant difficulty transferring, a healthcare or occupational-therapy professional can help determine a setup that supports their movement pattern.
14. Consider a Shower Seat as Part of the Overall Plan
Grab bars work best as part of a broader bathroom-safety strategy.
The National Institute on Aging also recommends considering nonslip surfaces and a shower stool or seat when appropriate.
Other improvements may include:
- Nonslip shower surfaces
- Handheld showerhead
- Good bathroom lighting
- Easily accessible toiletries
- Shower seat
- Clear pathways
Installing one grab bar does not eliminate other fall hazards.
For example, a securely mounted bar will not prevent slipping if the floor remains extremely slick and the person cannot reach the bar quickly.
Safety measures should work together.
15. Test the Installation Before Depending on It
After installation, inspect the bar carefully.
The bar should:
- Feel completely solid
- Not rotate
- Not shift
- Not pull away from the wall
- Have fully secured mounting hardware
- Have no sharp edges
Apply firm pressure in several directions.
Do not perform dangerous hanging or jumping tests.
If there is any noticeable movement, do not rely on the bar until the installation has been inspected and corrected.
Movement may indicate:
- Loose screws
- Improper anchors
- Weak wall material
- Missed structural framing
- Damaged backing
A properly installed grab bar should feel like part of the wall rather than an accessory attached to it.
16. Don’t Forget Water Sealing
Bathroom installations have an additional concern: moisture.
Holes drilled through tile, shower surrounds, or other wet-area surfaces can provide a path for water to enter the wall.
Follow manufacturer recommendations for appropriate sealing.
A professional installer may use suitable waterproof sealant around penetrations and mounting flanges while making sure the hardware remains securely installed.
Water getting behind the wall can eventually contribute to:
- Rot
- Mold
- Damaged wallboard
- Loose mounting surfaces
Good waterproofing helps protect both the bathroom and the long-term strength of the installation.
17. Consider Professional Installation When Necessary
Installing a grab bar may look like a straightforward do-it-yourself project, but there are situations where professional help is the safer choice.
Consider hiring someone experienced with accessibility installations when:
- You cannot confidently locate structural support
- The wall is tiled
- The wall contains stone
- Plumbing locations are uncertain
- Metal studs are involved
- Special anchors are required
- The person will rely heavily on the bar
- Multiple bars need to work together
- The user has significant mobility limitations
An experienced installer can evaluate the wall construction and choose an appropriate mounting method.
For more complicated accessibility needs, an occupational therapist can also help identify where support would be most useful.
The National Institute on Aging emphasizes that aging-in-place improvements should be tailored to changing needs rather than treated as a one-time checklist.
18. Inspect Grab Bars Regularly
Installation is not the final step.
Grab bars should be checked periodically for:
- Loose screws
- Movement
- Rust
- Corrosion
- Cracked tile
- Damaged wall surfaces
- Worn grip areas
One practical routine is to inspect every grab bar every three to six months and whenever you notice even slight movement.
You might make the inspection part of another home-safety routine, such as checking smoke alarms or replacing HVAC filters.
If a bar begins to loosen, stop relying on it until the problem is repaired.
Simply tightening visible screws may not solve the underlying problem if the anchor or wall structure has failed.
19. Keep the Gripping Surface Clean
Soap residue, shampoo, lotions, and moisture can make bathroom grab bars slippery.
Clean them regularly using a product appropriate for the bar’s finish.
Avoid leaving oily or waxy residues.
Textured surfaces should be cleaned carefully so buildup does not reduce their grip.
After cleaning, make sure the bar itself is not unusually slippery before using it for support.
20. Reevaluate Placement as Mobility Changes
A grab-bar arrangement that works well today may not be ideal several years from now.
Changes in:
- Strength
- Balance
- Arthritis
- Shoulder movement
- Walking ability
- Use of mobility aids
can change where support is needed.
For example, someone who initially uses a grab bar only for balance may later need more substantial assistance when transferring to a shower seat.
Periodically ask whether each bar still supports the movements you actually make.
If you find yourself reaching for another part of the wall or furniture instead, the current placement may need to be reconsidered.
A Practical Grab-Bar Example
Imagine a bathroom used by someone who feels unstable when entering a bathtub.
A thoughtful setup might include:
- A securely mounted vertical grab bar near the tub entrance to provide support while stepping over the tub wall.
- A properly positioned horizontal bar inside the bathing area for stability once inside.
- A nonslip bathing surface.
- A shower seat if standing for long periods is difficult.
- A handheld showerhead so bathing can be completed while seated.
The important point is that the solution is designed around the sequence of movements, not simply around installing one bar somewhere on the wall.
That approach usually creates a much more useful safety system.
Final Thoughts
Grab bars can be an excellent addition to a safer, more accessible home, but only when they are chosen, positioned, and installed correctly.
Start by identifying where support is actually needed.
Choose grab bars designed for safety rather than relying on towel racks or other household fixtures. Make sure the mounting system connects to appropriate structural support, follow manufacturer instructions, and avoid relying on drywall alone.
Pay particular attention when installing through tile or other wet-area surfaces, where both structural strength and waterproofing matter.
Remember that ADA guidelines—such as the 33- to 36-inch height range for many horizontal grab bars and the 250-pound structural force requirement—provide useful accessibility benchmarks, but they should not be treated as universal instructions for every private home or individual.
The National Institute on Aging recommends grab bars near toilets and in tubs and showers as part of a broader strategy for making the home safer and supporting independence.
Most importantly, a grab bar should feel completely secure every time you use it.
If you are uncertain about the wall structure, installation method, or best position, having the bar professionally installed is a sensible safety investment.
A properly placed grab bar may seem like a small home improvement, but when you need support, that small improvement can make everyday movements feel considerably safer and more manageable.